Here in the north, the snow is finally almost gone and seeds have begun to arrive. While we are still a long way from planting in the ground, now is a great time for indoor seed starting for many plants.
Since I am doing my seed starting for our homestead, I decided to write this simple beginner’s guide to starting seeds indoors.
You don’t need everything I am using, so use whatever resources you have on hand. For the most part, plants aren’t too fussy!
Before getting started, here are a few things to keep in mind.
Knowing what to plant when is a combination of what plant hardiness zone you live in and the recommendations on your seed packets. You can find your plant hardiness zone here if you do not know it.
Another helpful resource to get a general idea of what to plant when, can be found here. There are many things you can do to lengthen your gardening season, such as creating cold frames or setting up a greenhouse!
Keeping a notebook or journal of your homestead experiments will help you figure out works best for your own curious situation.
Starting Seeds Indoors Materials
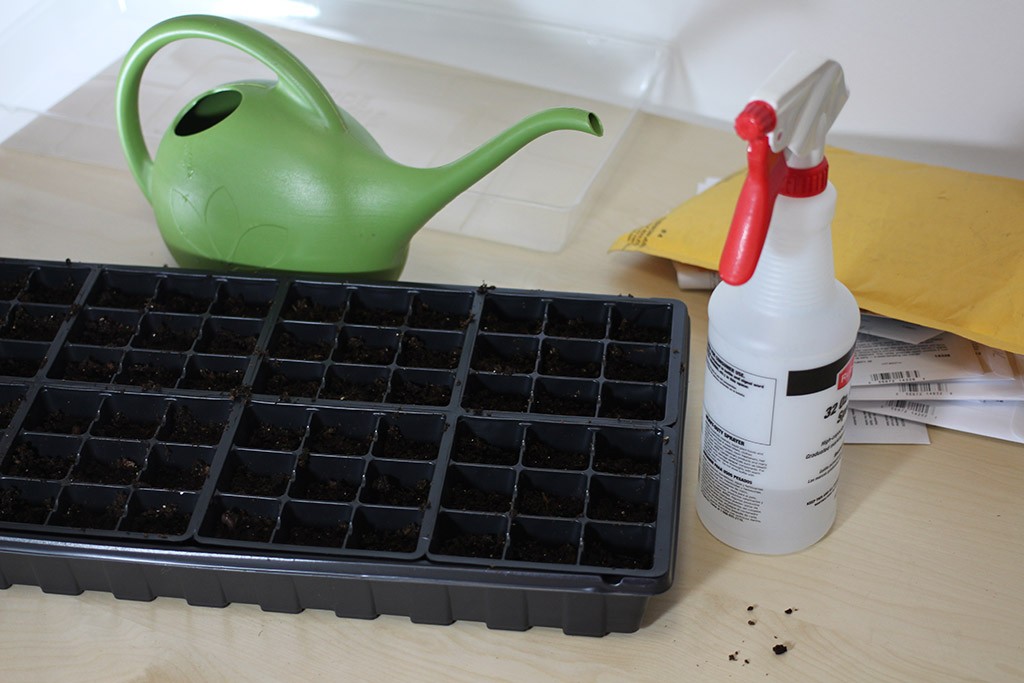
Here is a list of materials I used for starting seeds.
The only items you absolutely need are seeds, some sort of container, and something to start the seeds in. Be curious and creative!
I would love to hear about other ideas people have implemented with what they had on hand, so feel free to share!
Some of these items just make the whole process easier so keep that in mind.
- Seeds
- Seed starting mix
- Seed starting trays
- 5 gallon bucket
- Watering can
- Spray bottle
- Gardening journal/notebook
- Masking tape & pen
- Seed starting rack
- Vacuum
- Cleanup cloth
Starting Seeds Steps
After figuring out what seeds you are going to be starting and gathering all of the materials, getting the seeds started is a snap!
The first thing you will want to do is “map out” what you will be planting in each cell or container so you know what is where. This is easily done in your gardening journal. I simply drew a picture of each seed tray and wrote in each cell what I would be planting in each one.
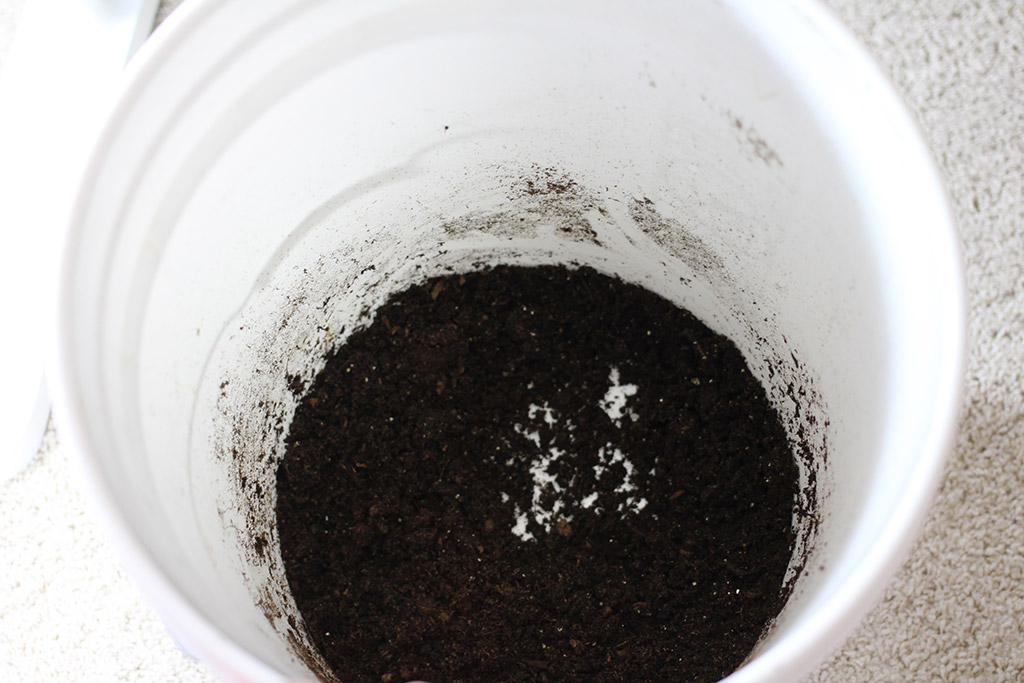
Next empty your seed starting medium into the 5 gallon bucket. You can use a bagged mix such as this, some peat moss, or vermiculite. Basically you just need something that will retain moisture. If you are using a mix, get the mix wet enough that it begins to clump together, but not so wet that it is soaked.
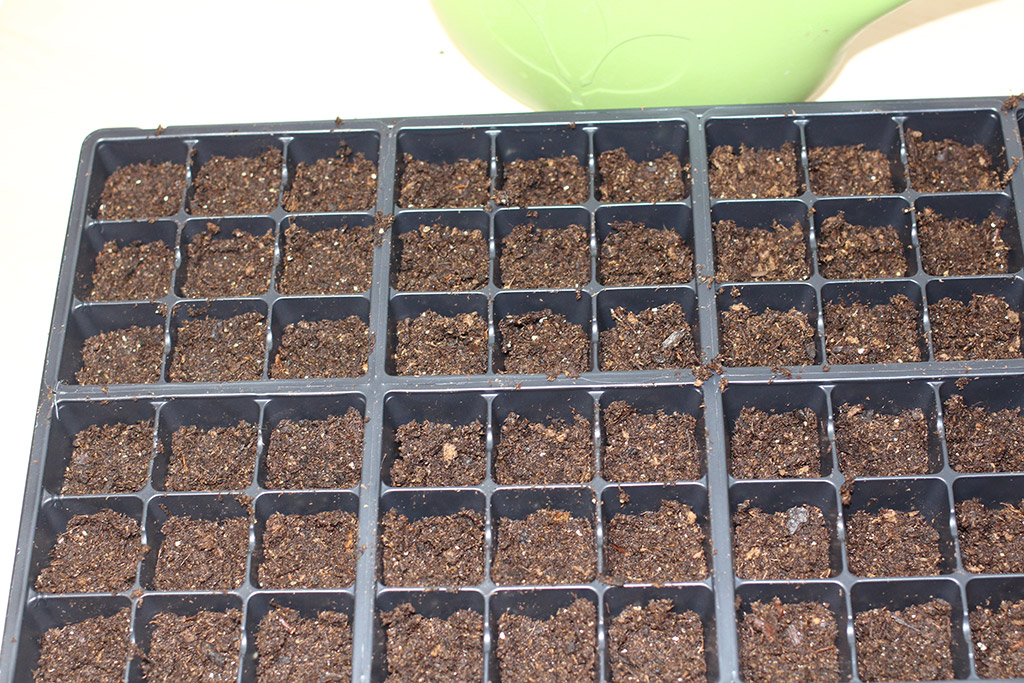
The next thing you will want to do is fill whatever containers you are using about half full of the seed starting mix.
I used some trays such as these but you can use just about anything. Small pots, cut up milk cartons with holes poked in the bottom, or cut up pop bottles are some other ideas. As long as it can hold some seed mix and has decent drainage you should be okay.
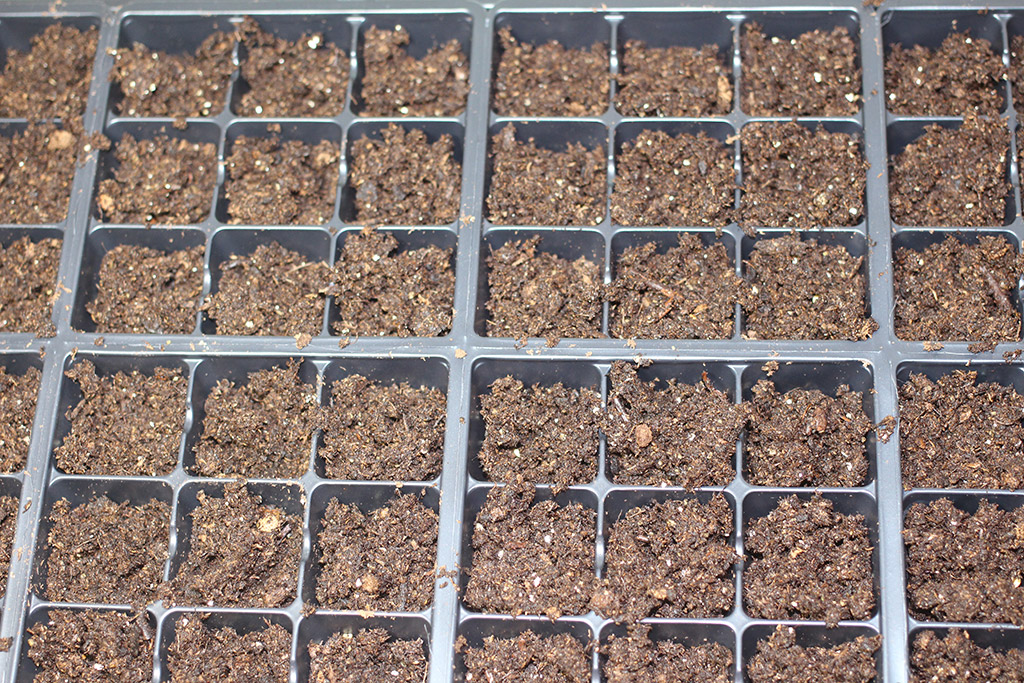
Once your containers are half full, level them out.
When I had the seed starting mix ready for the seeds, I placed two seeds in each cell. Eventually I will pinch off the weaker of each sprout, but this is a good way to make sure that you get something in each cell.
After the seeds are in place, lightly cover them with a bit more of the seed starting medium. Then use your spray bottle or mister to make sure everything has adequate moisture.

The next thing to do is to put the seeds somewhere bright, but not directly in the sunlight.
If you are using a mini greenhouse tray like I am, put the covers on. These will help retain heat and moisture. I labeled my trays to correspond to the pictures in my gardening notebook so I would know what is in each cell.
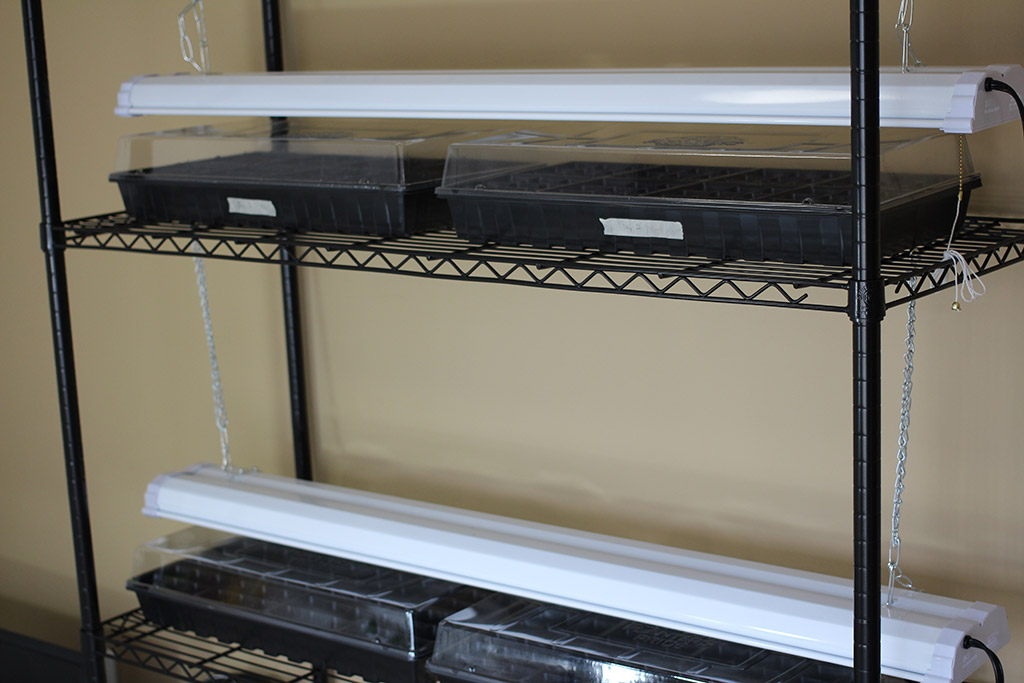
If you have the room, making a simple seed starting rack is as simple as setting up some shop lighting on a set of wire shelves.

Spring is such an exciting and busy time for the modern homesteader or gardener!
This is especially true if you live somewhere with very long winters like we do here in the north. Even though there is still some snow on the ground, I am happy to begin work on what we will be eating this year!
In case you are interested, the seeds I started today were four varieties of tomato, two varieties of broccoli, two varieties of sweet peppers, habeneros, eggplant, watermelon, and cantaloupe.
Over the rest of the week I will be starting several other seeds.