Mid November and the compost tumblers are already frozen solid. I want to keep composting through winter and I had been meaning to figure out vermicomposting so there was only one thing to do. Build a worm bin! Worm bins don’t need to be complicated so I built mine out of a simple plastic storage container.

Building the Vermicomposting Bin
I built my worm bin using the following materials:
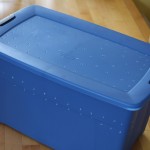
- 1 Storage container
- 2 Storage container lids
- 2 pieces of scrap lumber
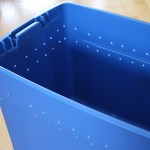
The steps to build the bin itself were very simple.
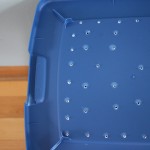
- Drill holes in one of the lids (only 1!)
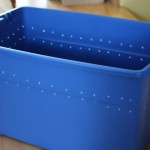
- Drill holes in the bottom of the bin
- Drill two rows of holes near the top of the bin

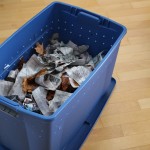
Preparing the Bedding
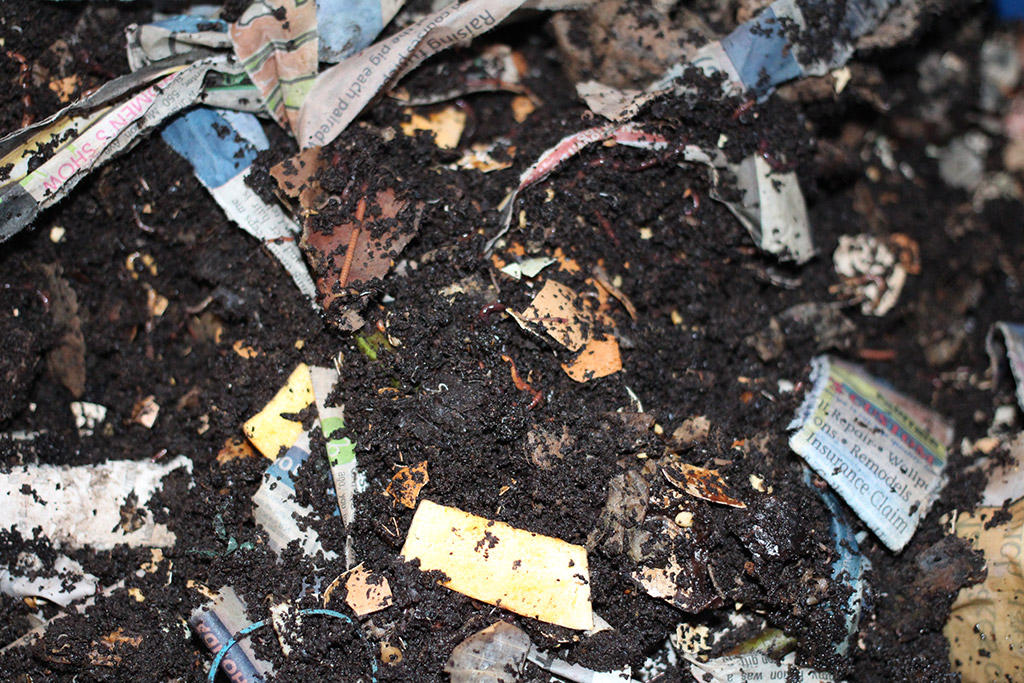
For the worm bedding I used a mixture of shredded newspaper and leaves. We have quite a bit of both materials so I used some of each. I made sure the bedding was a little bit more wet then damp. Then it was time to get some red wigglers!


Most Important Ingredient
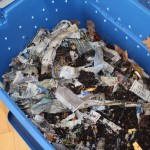
The final thing to add to my vermicomposting bin was the worms. I had contacted Carter’s Compost ahead of time and they told me they would have around 1000 new family members ready for me by the time I got there. The kids were both very excited at the idea, my wife was a bit apprehensive. We picked up the red wigglers and brought them home.
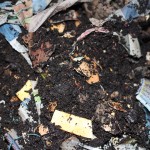
I added the worms to the bin along with our bucket of kitchen scraps. I then mixed them in a gently. The bin is currently setup in the basement. I set the bin on the other lid set up on the scrap lumber to help with airflow and drainage under the bin. I am excited to see how well this setup works and how much maintenance is required.
Comments are closed.