A three-bin composting system is a wonderful way to create compost and looks attractive. With the wonderful spring weather we have been having I had the opportunity to get outside and enjoy the sunshine with this project. If you are looking for a fun and easy DIY project, a three-bin composting system is a great beginner project.
The plans came from the now defunct Organic Gardening magazine but I had them printed as a “future” homesteading project. This is my experience making the project with some additional information that will hopefully be helpful. I highly recommend pre-drilling all holes so you don’t split any wood!
Three-Bin Composting Materials List
Here are the materials you will need to create this composting system. You will also need some basic tools. A saw, drill, measuring tape, and sledgehammer are needed. A staple gun of some sort is also required – I recommend an electric one!
- 1x6x12 cedar | Qty. 7
- 1x6x10 cedar | Qty. 9
- 1x2x10 cedar | Qty. 2
- 2x6x10 cedar | Qty. 2
- 2x6x12 cedar | Qty. 2
- 2x4x12 cedar | Qty. 2
- 4 foot metal fence posts with screw holes | Qty. 8
- 3 foot chicken wire | 36 feet total
- Box of 2″ wood/deck screws
- Box of 2 1/2″ wood/deck screws
- Staples
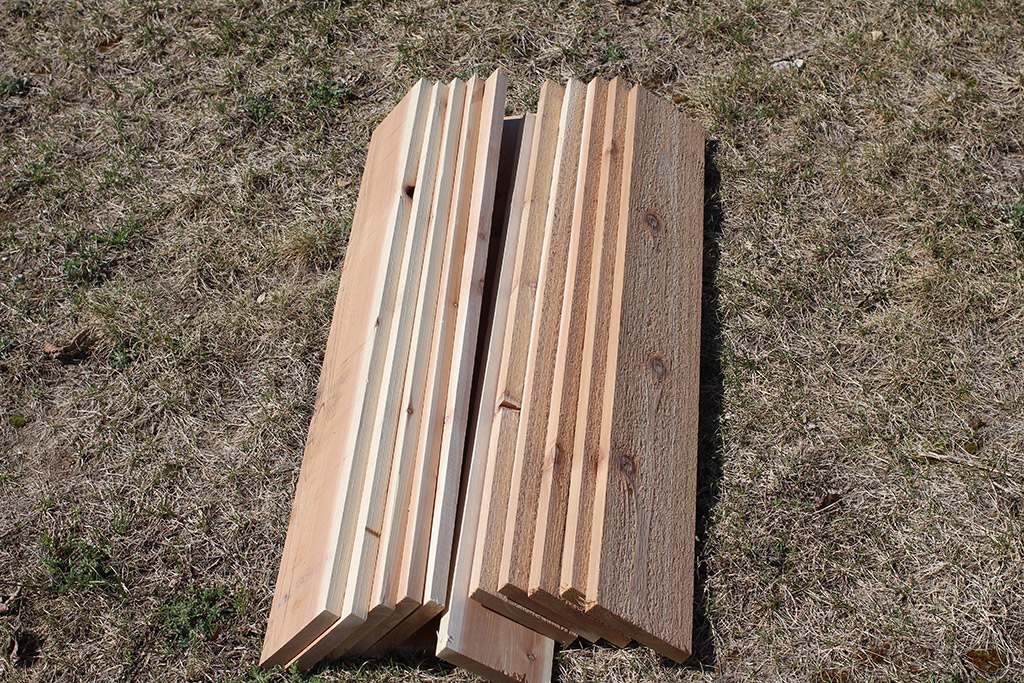
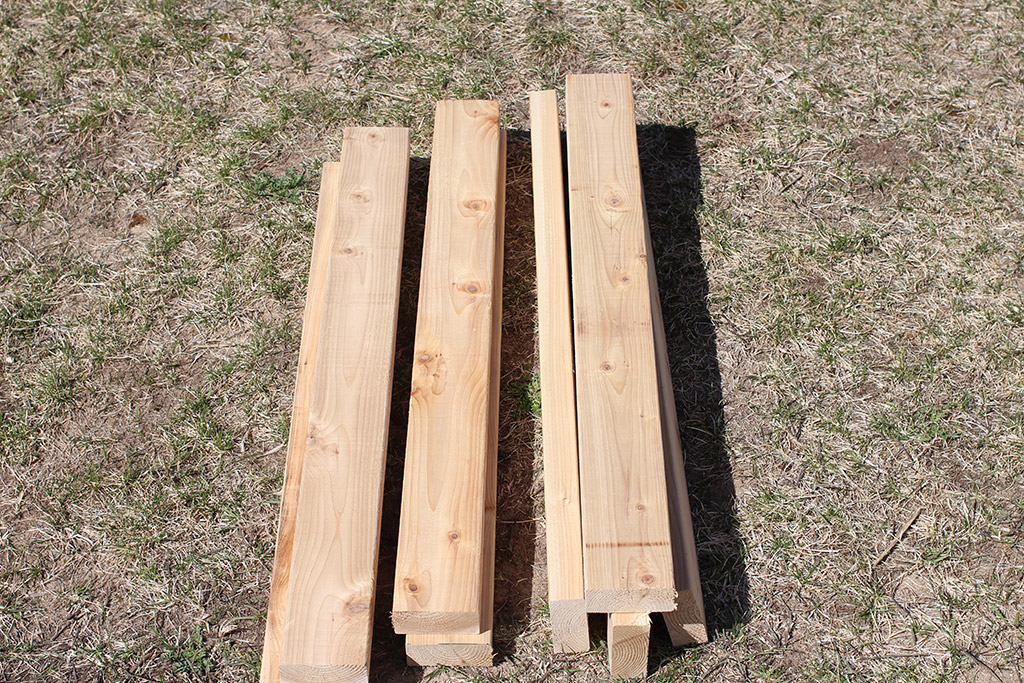
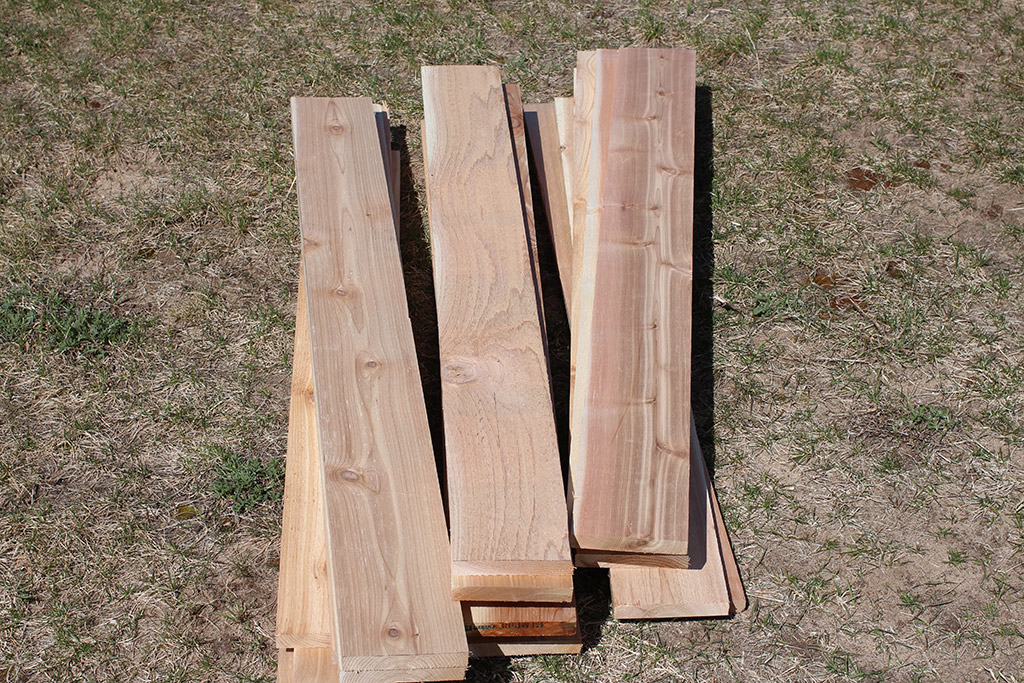
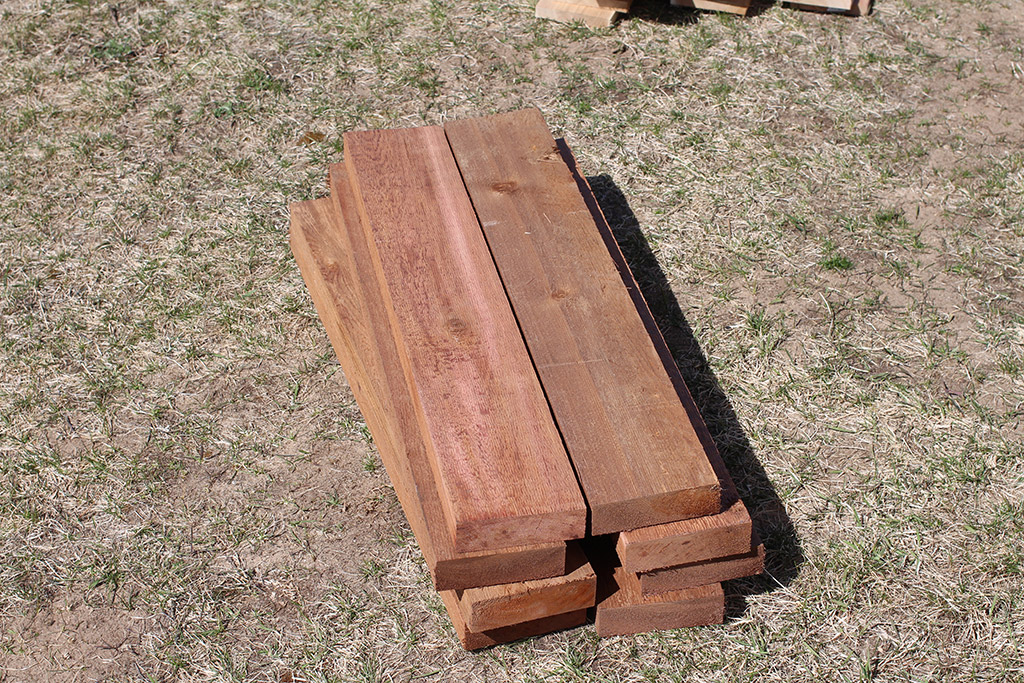
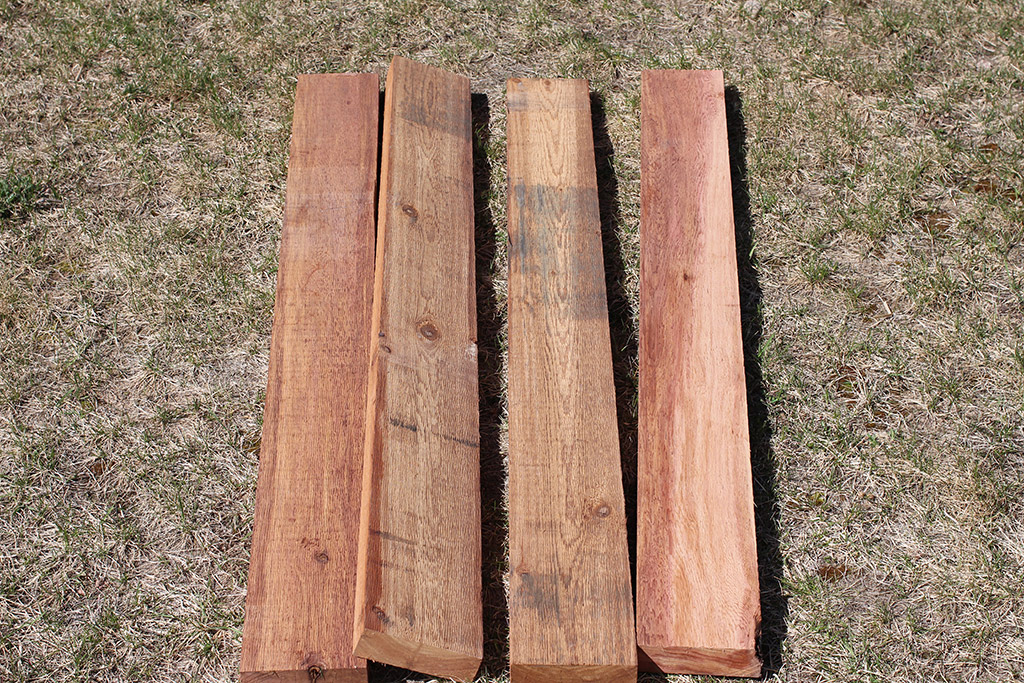
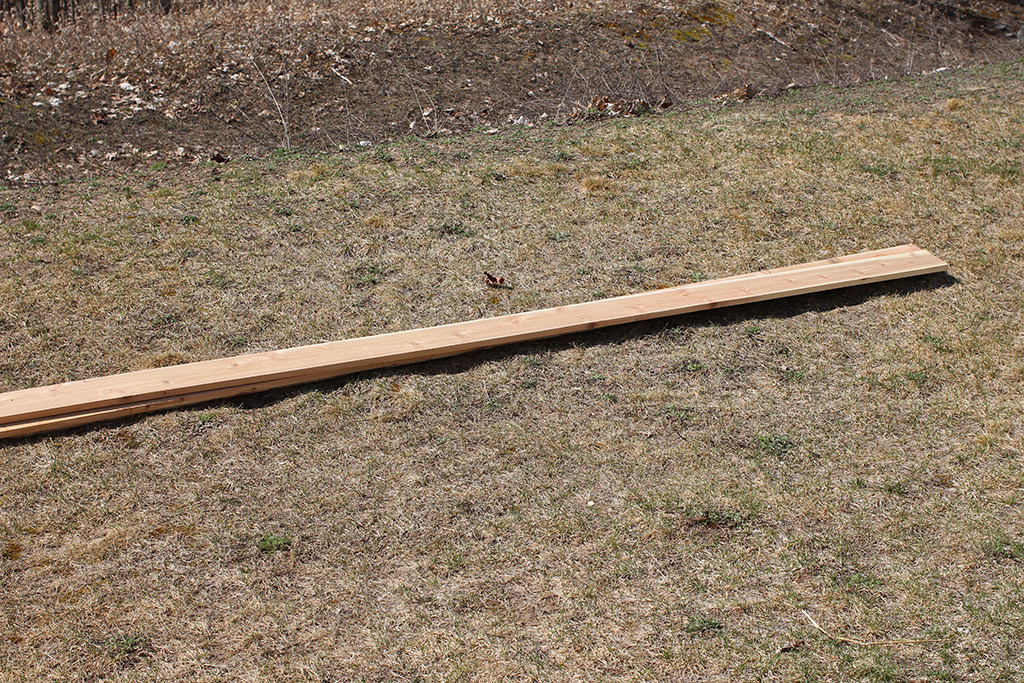
Three-Bin Composting Wood Cuts
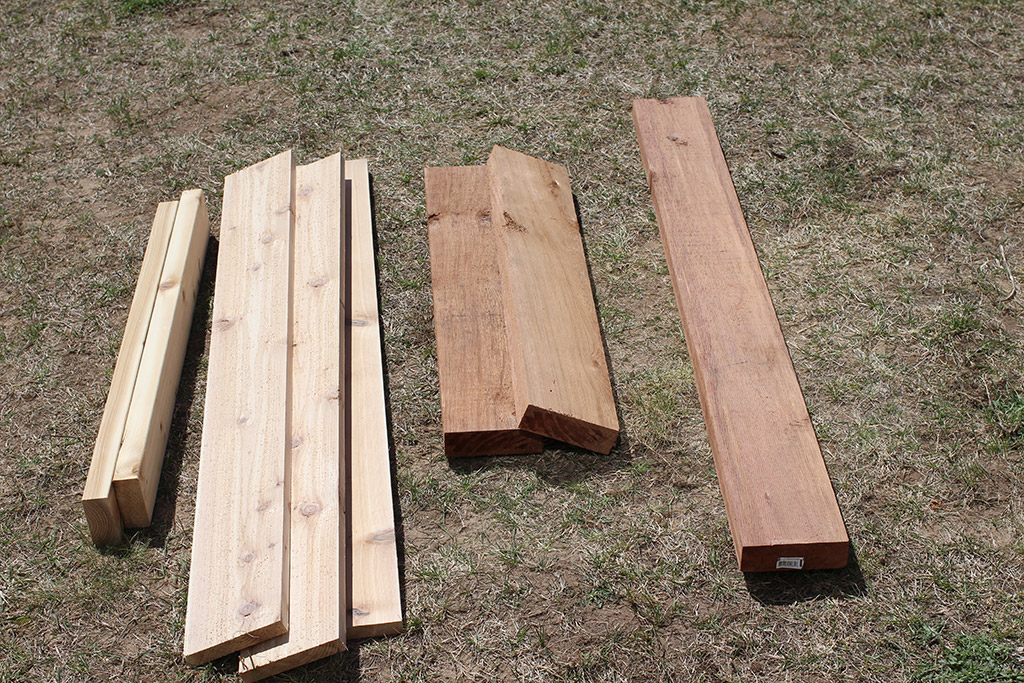
Here are the cuts you will need to make.
Removable Slats
Cut 4 1x6x12s into 43.5″ lengths to make 12 pieces for the removable slats.
Uprights
Cut the 2x4x12s into 34.5″ lengths to make 8 pieces for the uprights.
Side Slats
Cut the 1x6x10s into 54″ lengths to make 18 pieces for the side slats.
Front and Back Supports
Cut the 2x6x12s into 34.5″ lengths to make 8 pieces for the front and back supports.
Bottom Pieces
Cut the 2x6x10s into 57″ lengths to make 4 bottom pieces.
Removable Slat Supports
Cut the 1x2x10s into 34.5″ lengths to make 6 removable slat supports.

Back Slats
The remaining 1x6x12 pieces are used for the back slats (no cuts needed.)
Three-Bin Composting Project Steps
Step One – Make the End Panels
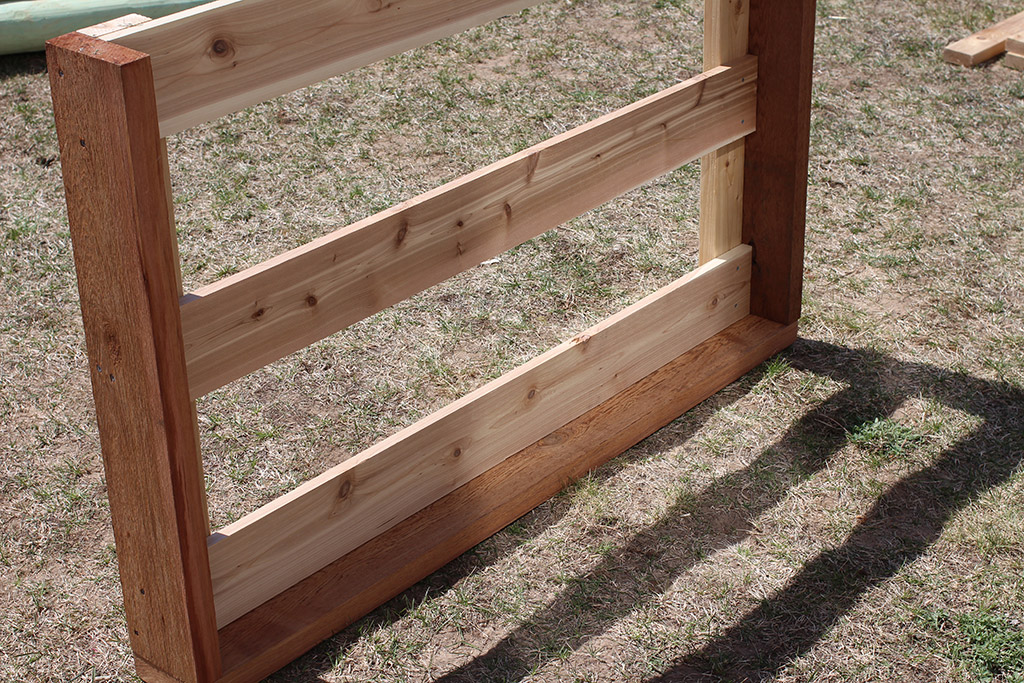
The first thing to do is make the end panels. You will need two end panels (a left and a right) and they should end up looking like this. Take the time to pre-drill holes for the screws!
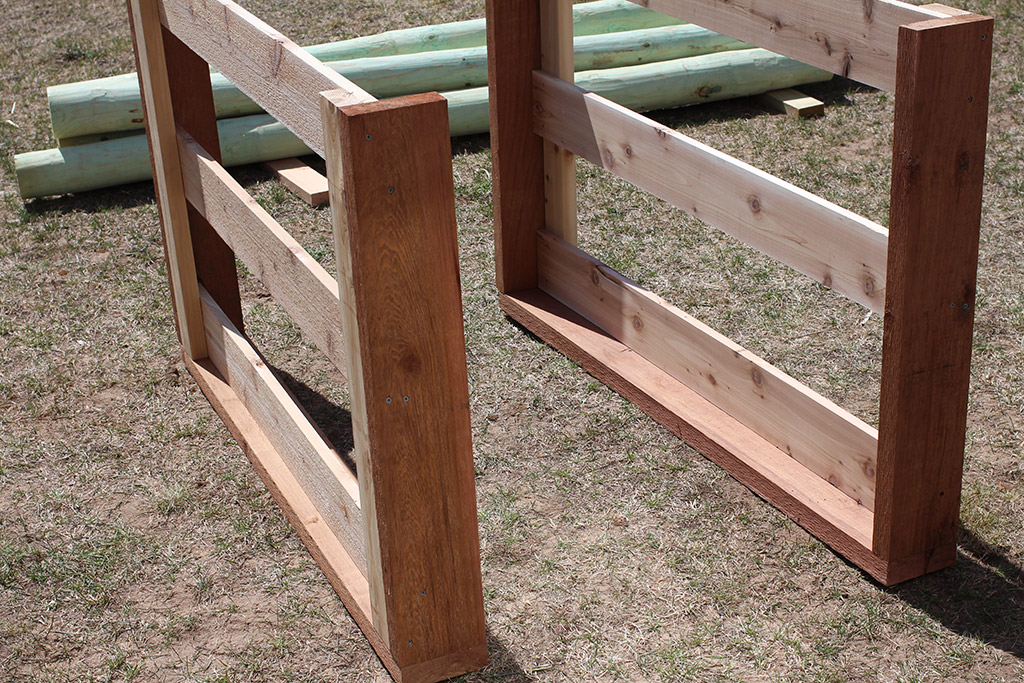
End Panel Materials
The end panels are comprised of two uprights, three side slats, two front/back supports, one bottom piece, and one removable slat support. Since you will need to make a total of two end panels you will need to do this step twice.
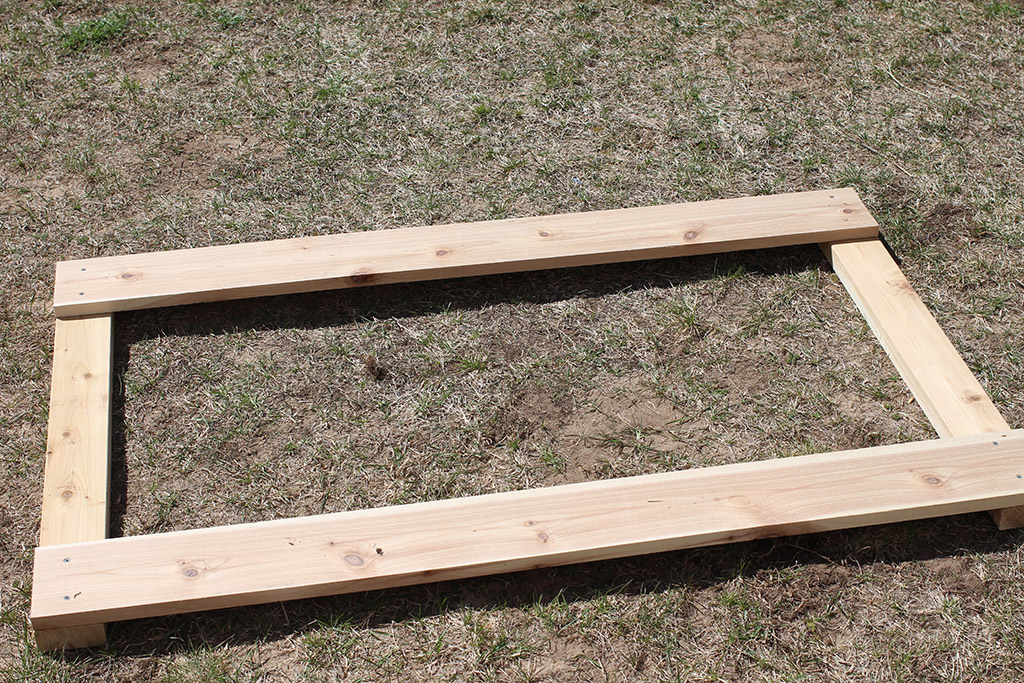
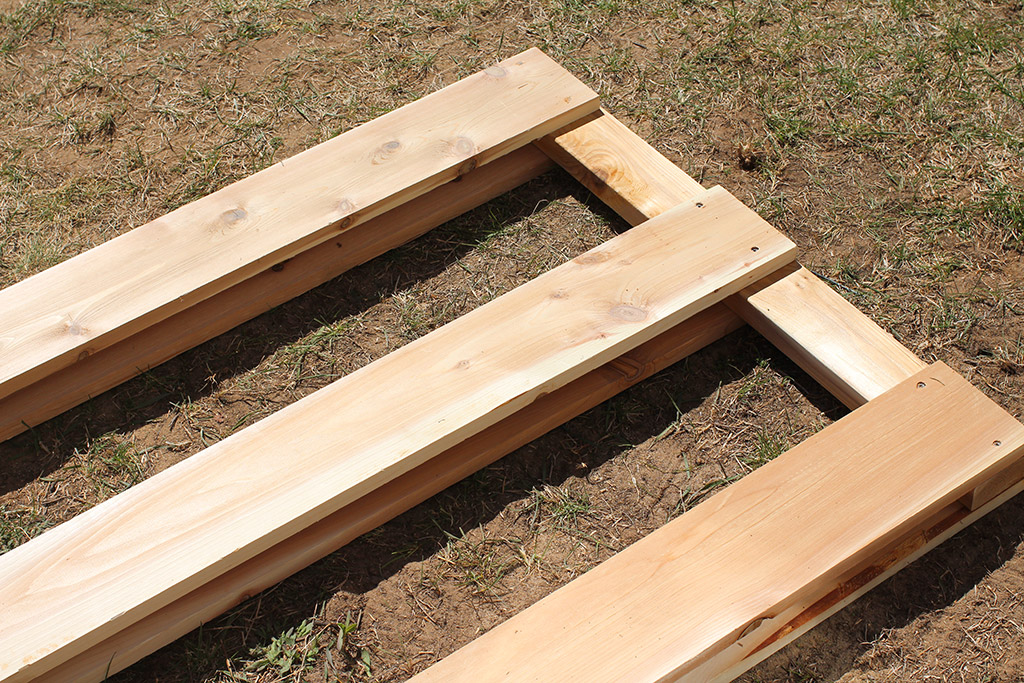
End Panels Part One
Using the two uprights and two of the side slats, make a rectangle that looks like this and attach with 2″ screws.
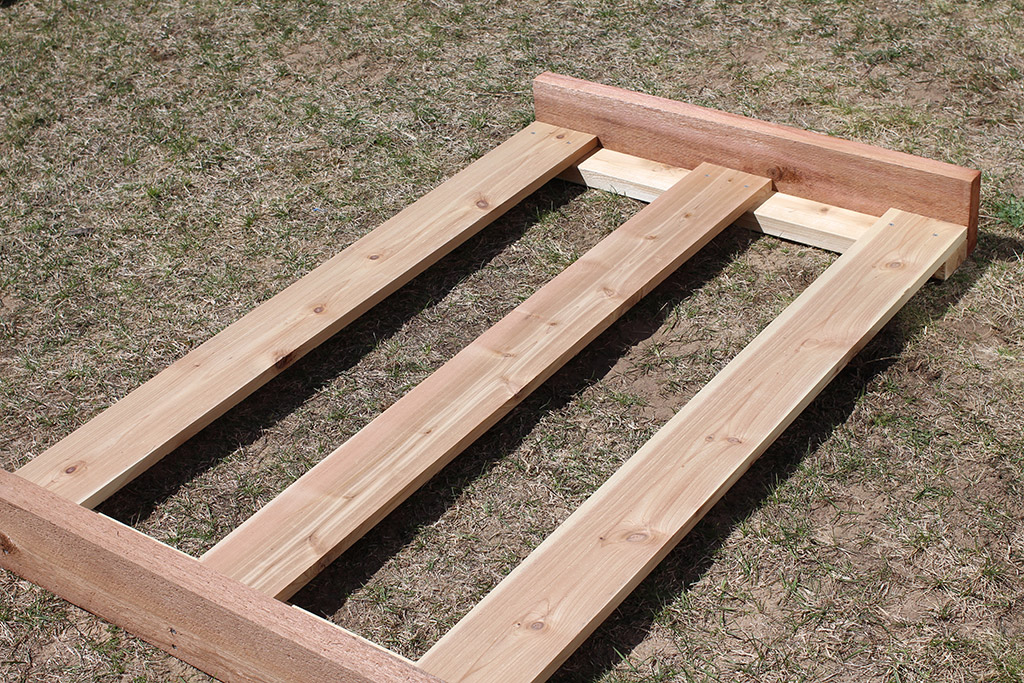
End Panels Part Two
Next take the remaining side slat and attach it to the middle of the assembly. It should be about nine inches from each of the side slats from the last part.

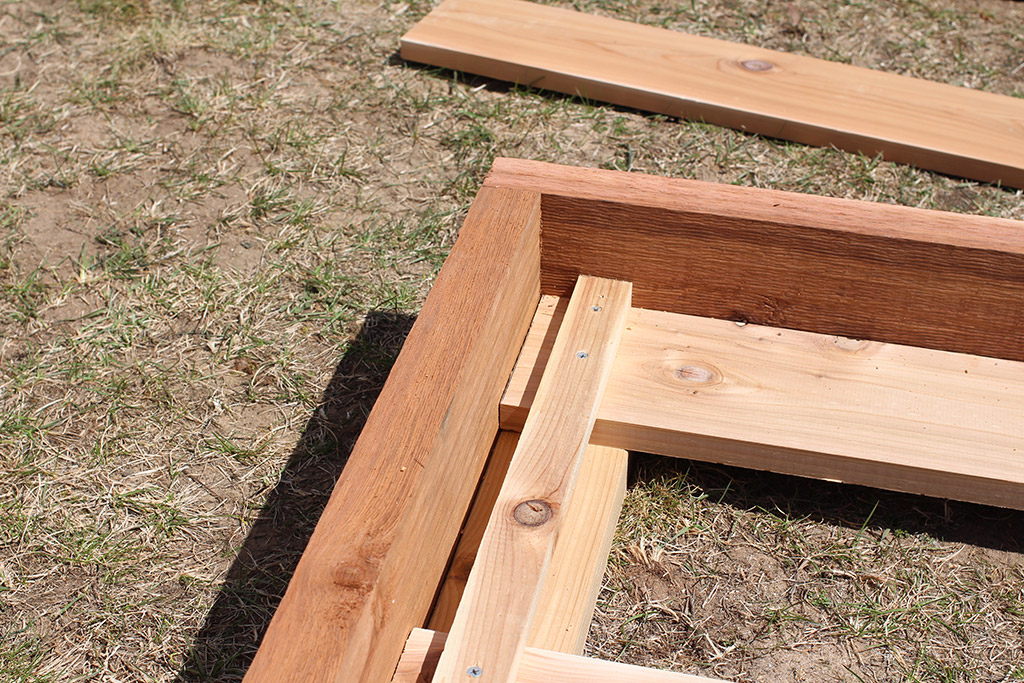
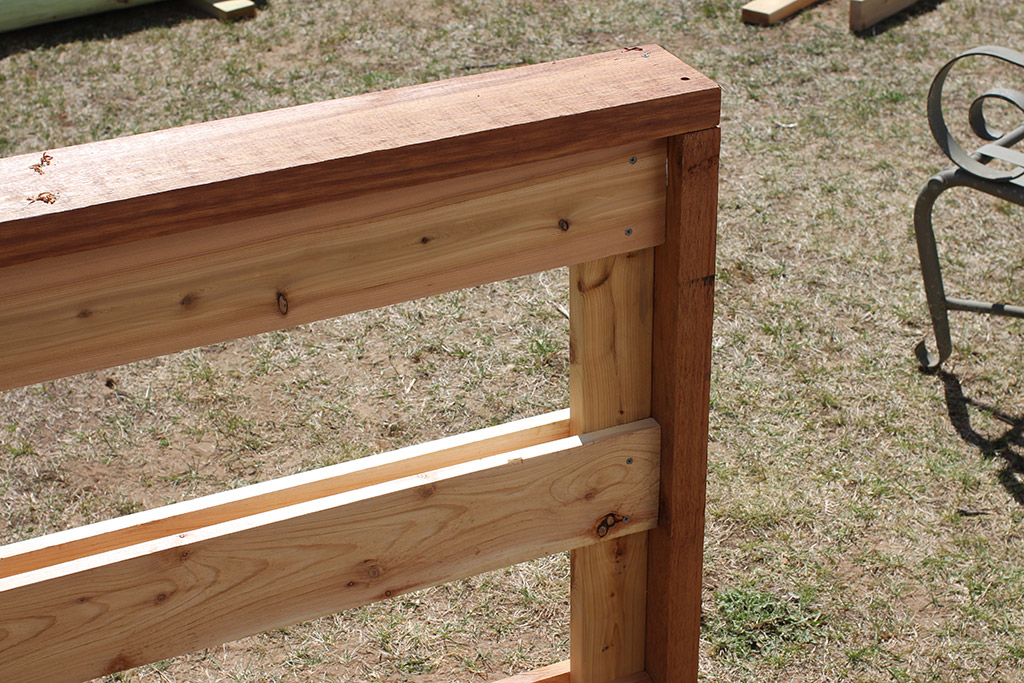
End Panels Part Three
Attach the two front/back supports to assembly. Screw them into both the side slats and uprights using 2 1/2″ screws. Get them as square as possible.
End Panels Part Four
Next flip the assembly upright and screw the bottom piece to both the front/back supports and one of the side slats with 2 1/2″ screws. The finished piece will look like the images below.
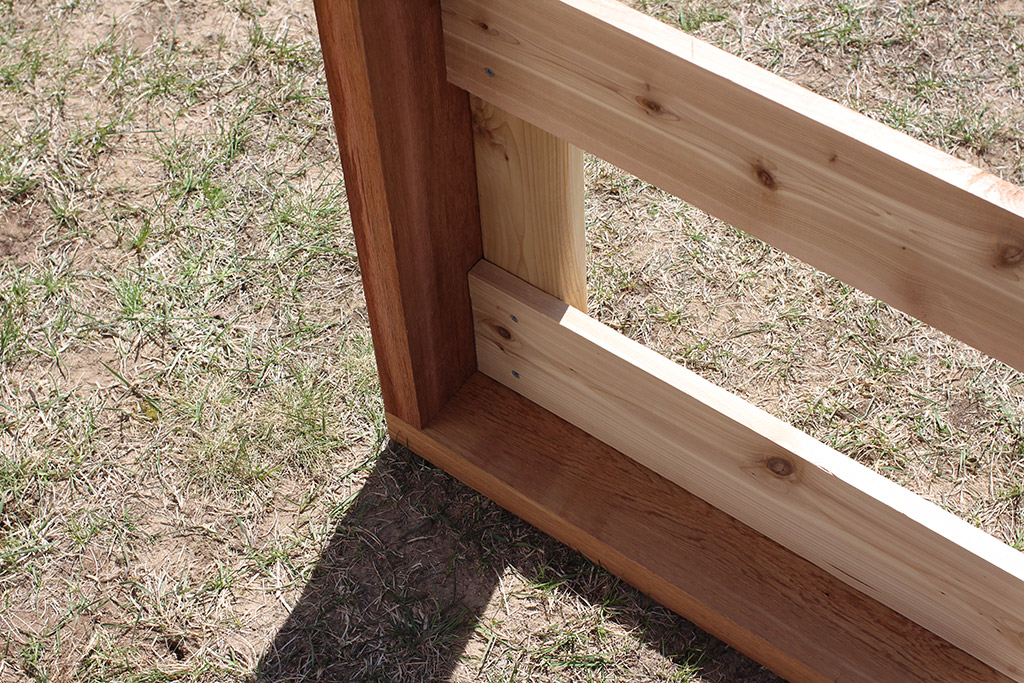
End Panels Part Five
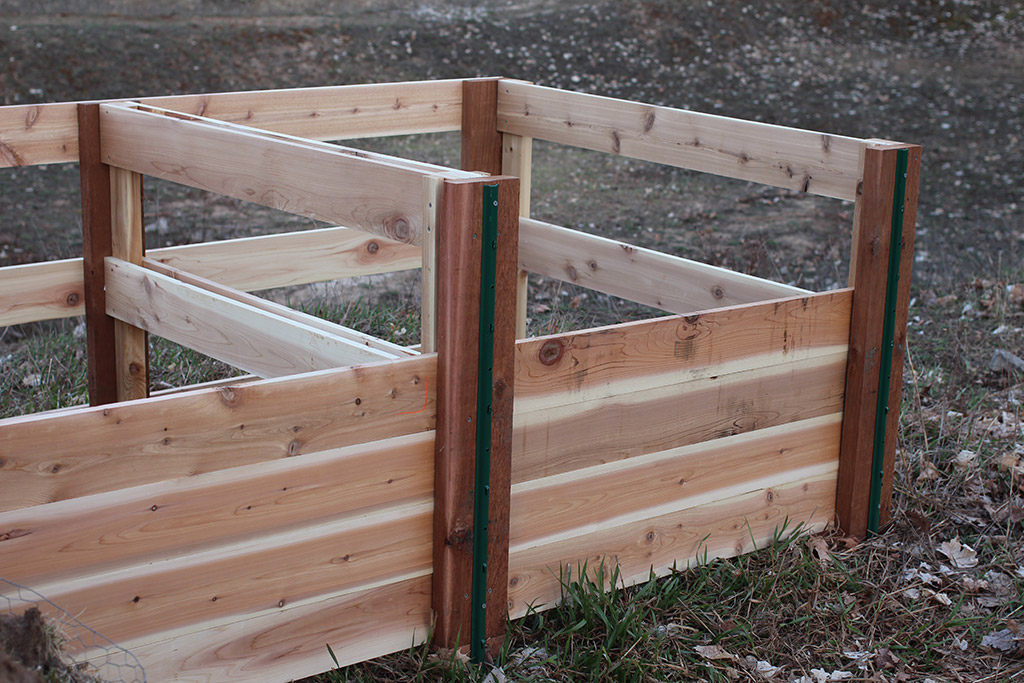
Finally attach the removable slat support with 2″ screws. Use one of the removable slats as a guide and make sure you attach them in what will be the front of your three-bin compost system. Leave about a half inch extra room to make the removable slats easier to slide out.

Step Two – Make the Middle Panels
Next you will make the middle panels. You will need two of these panels so repeat this twice. Take the time to pre-drill holes for the screws!
Middle Panel Materials
Each of the middle panels are made up of two uprights, six side slats, two front/back supports, one bottom piece, and two removable slat supports.

Middle Panels Part One
Using two uprights and three side slats, create the same assembly you used for the end panels in parts one and two of the end panel step using 2″ screws.

Middle Panels Part Two
Now flip the assembly over and attach the other three side slats with 2″ screws.
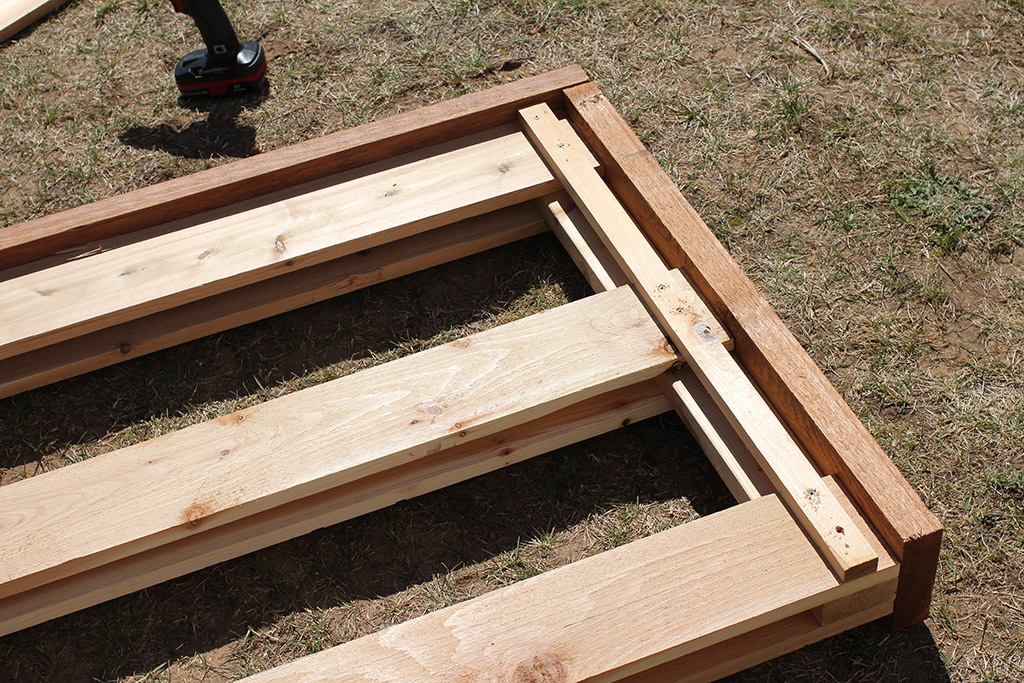
Middle Panels Part Three
Attach the front/back panels to each short side of the assembly using 2 1/2″ screws. The assembly should look like an upper case letter I with the uprights centered on each front/back panel.

Middle Panels Part Four
Attach the bottom piece to the assembly with 2 1/2″ screws.
Middle Panels Part Five
Finally using a removable slat as a guide, attach a removable slat support like you did with the end panels using 2″ screws. You will need one removable slat support on each side of the assembly but both located in the front of the middle panel you are creating.
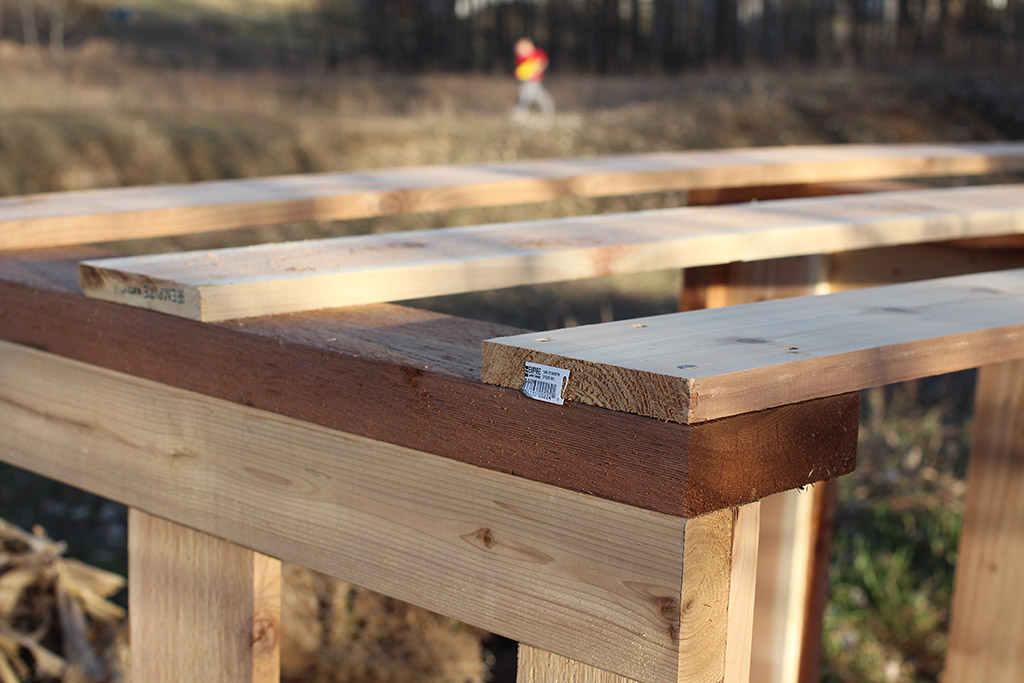
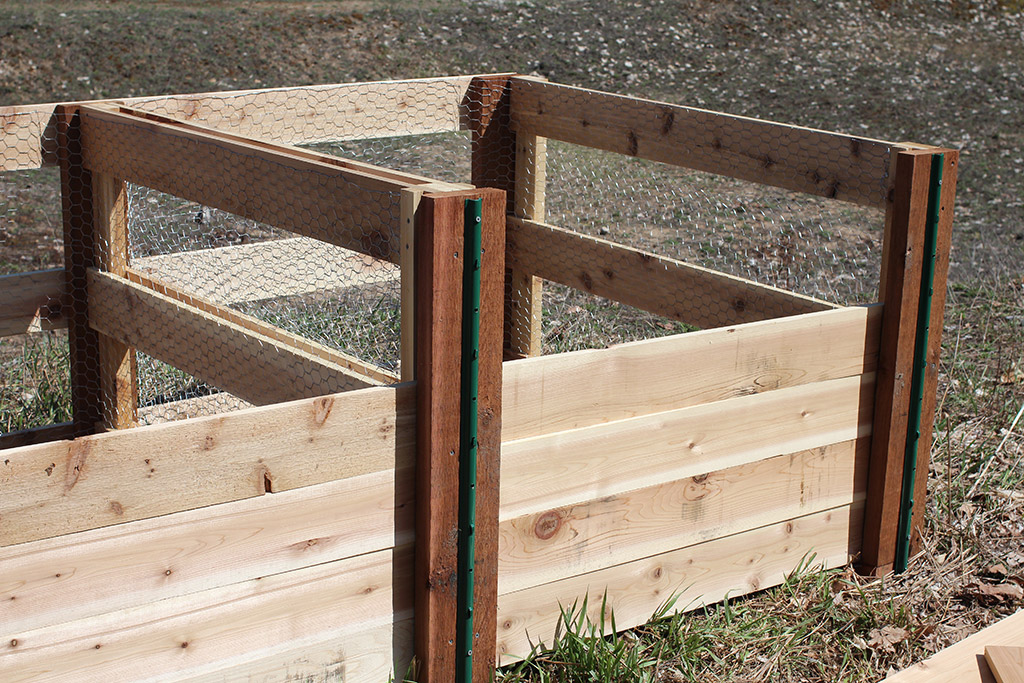
Step Three – Attach the Back Slats
Place the end panels and middle panels on their fronts and attach the three back slats with 2″ screws. To do this I first attached the back panel to each end panel. Then I measure 48″ in from each side on the back panel and made a mark. This mark should be centered on your middle panels. It is easier to see in the pictures what I mean. Take the time to pre-drill holes for the screws!


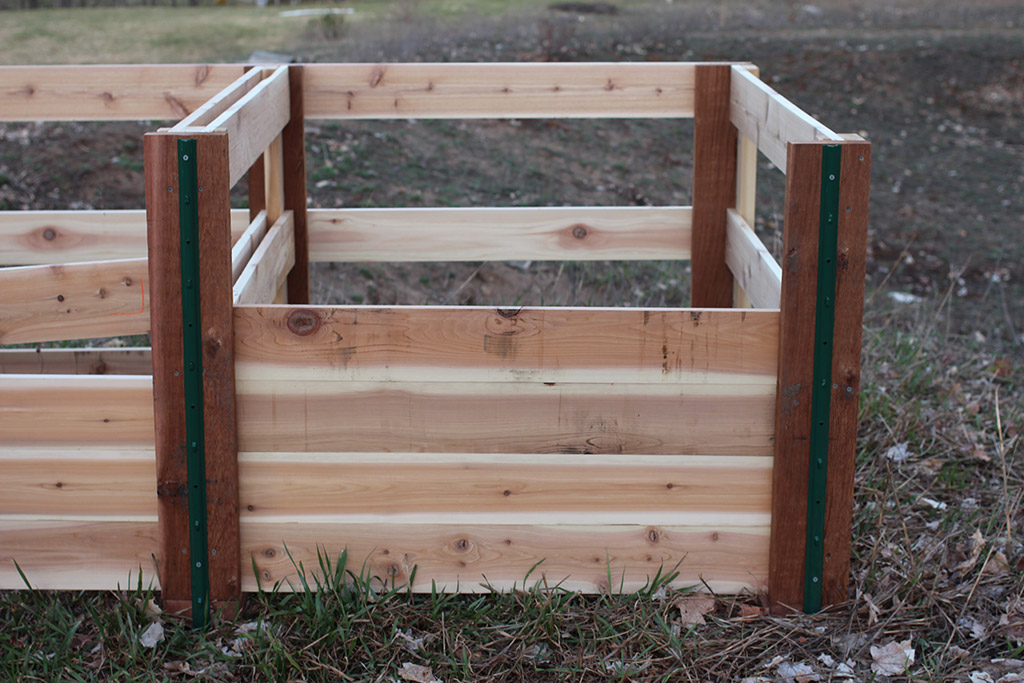
Step Four – Stake Down
Place the three-bin compost system into the desired location. Insert the removable removable slats into the compost bin to position the front. Drive the four foot posts into the ground and screw to each front/back panel.
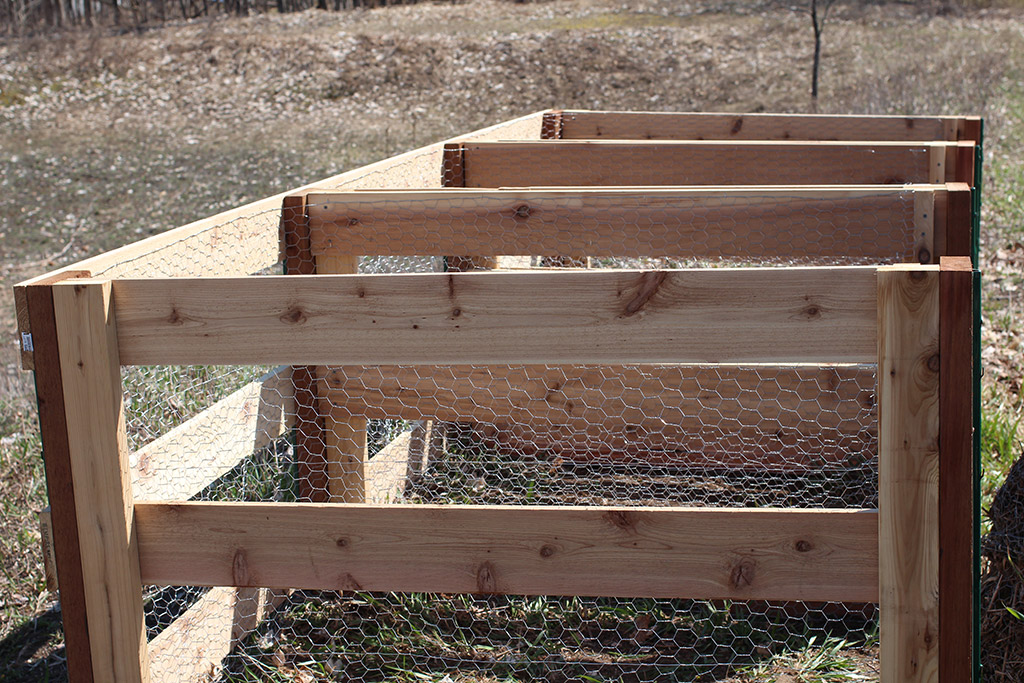
Step Five – Line Each Compartment
Finally staple chicken wire around the sides and back of each compartment.

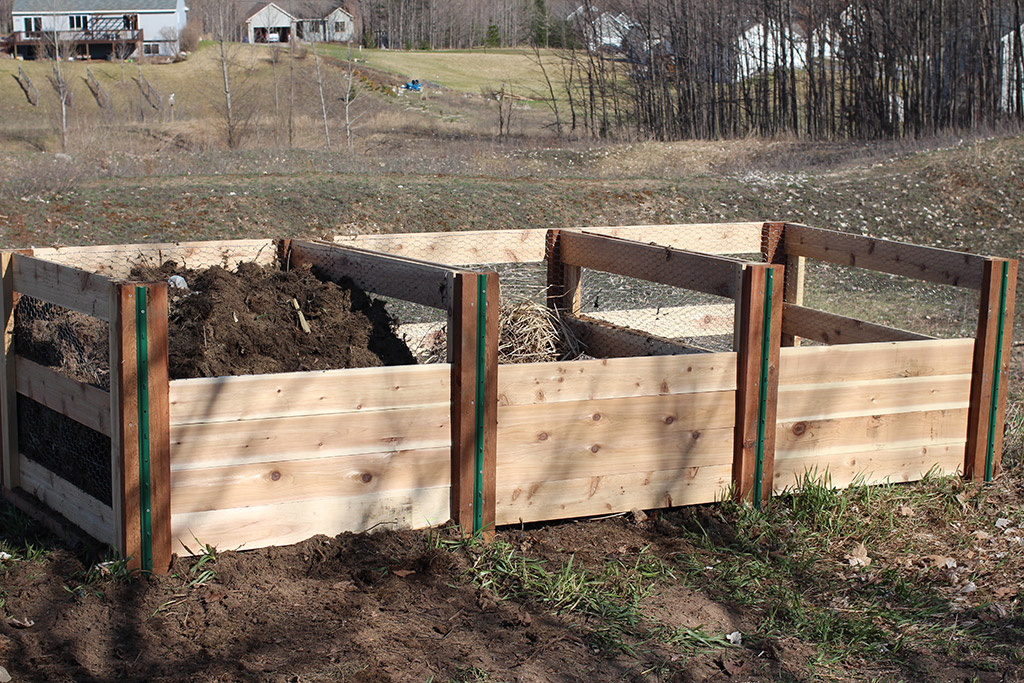
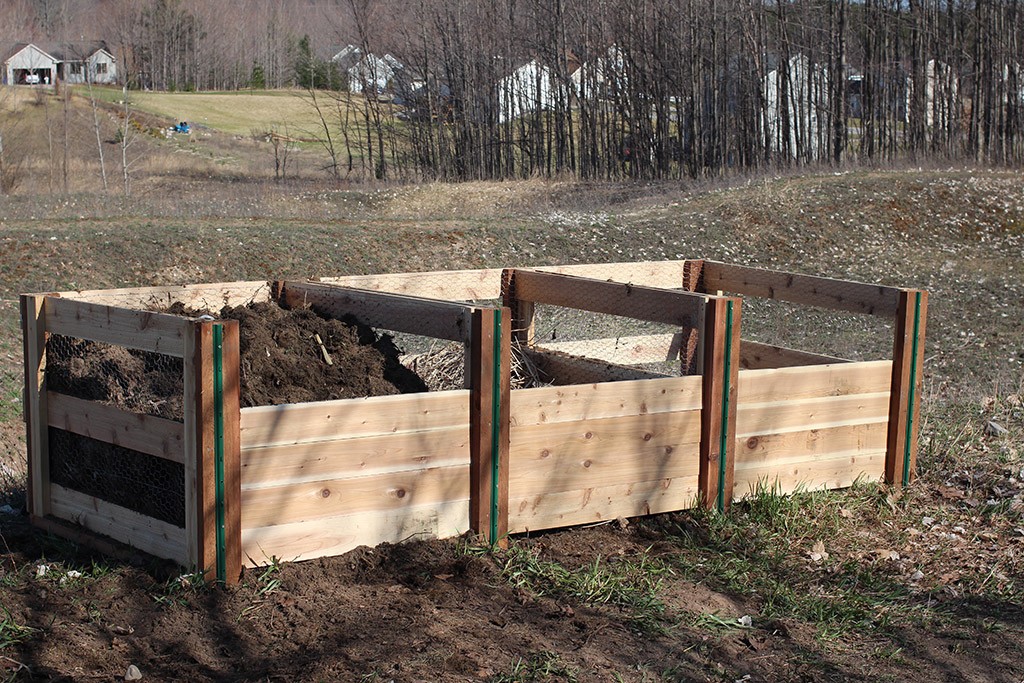
Three-Bin Composting Complete
Your DIY three-bin compost system is now complete! To use this system of composting, fill one compartment with materials and periodically turn the contents into a second compartment. Use the empty compartment for new material. Once the third bin is full the original material will hopefully be finished and you can start rotating all over!