When you and your family pick 50 pounds of strawberries its time to make strawberry jam. When you know nothing about making jam or canning it becomes another adventure in homesteading!This is the opportunity I found myself in – surrounded by way more of my favorite berry then I could eat and wanting to be able to remember it during the cold Michigan winters.
One of my favorite things to do during the summer is to pick strawberries at a local patch. I did this as a kid and want my kids to have the same memories. We made our way to Urka Farms – a great place to pick strawberries in the Traverse City area. After spending the afternoon picking (and eating) berries the farmer awarded my daughter a sticker proclaiming her the #1 strawberry eater of the day! 50 pounds is a lot of strawberries and so I knew the next day would be spent learning to can and making jam!


Making The Jam
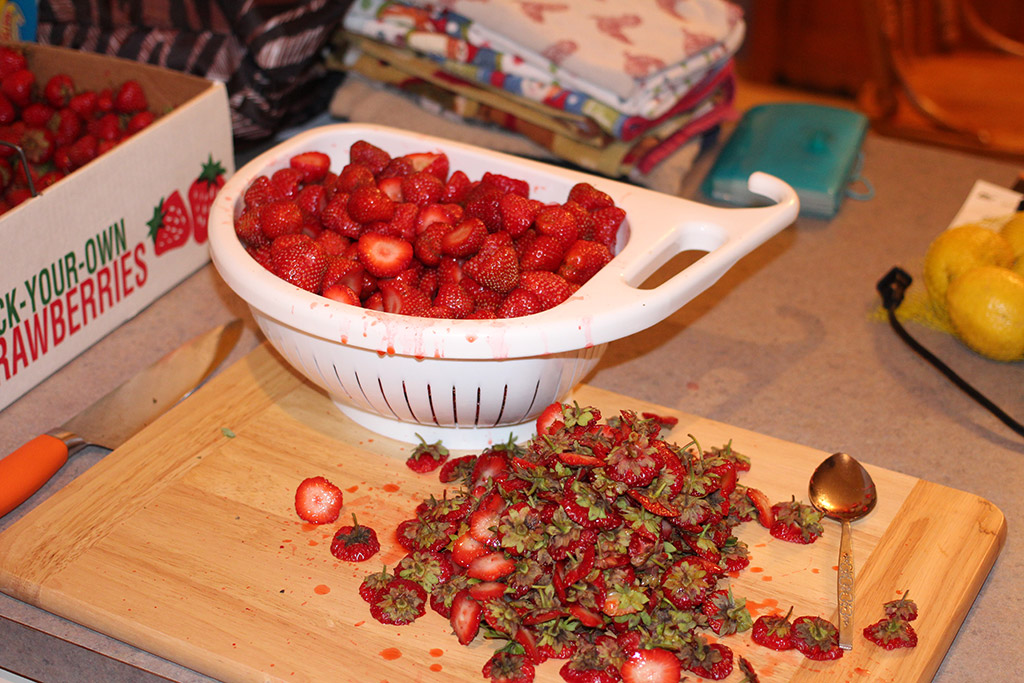
The first part of making the strawberry jam was also the most time consuming. Washing and hulling the strawberries took quite a lot of time due to the sheer volume of berries. It also took a lot of effort to not eat them all. My daughter agreed.
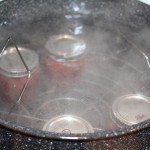
Once the strawberries were ready to go I placed the mason jars into the canning pot to warm them up. I also heated up the lids but not the screw bands. I used a low heat to just let them simmer while preparing the jam mixtures.
With the jars getting ready the mashing of berries began. My daughter and I took turns with a potato masher, trying not to make too much of a mess as we prepared the foundation of our strawberry jam.
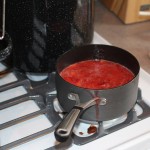
The next order of business was to cook the jam itself. I followed the directions on the low/no sugar pectin and used the recipes below. Once the jam was done I began to transfer the jam to mason jars one at a time using tongs and a funnel. Make sure to leave about 1/4″ head space in each jar. With each jar I wiped off the mouth of the jar using a clean cloth and used a small spatula to get rid of any air bubbles. Finally I added the lids and screwed the bands on lightly.
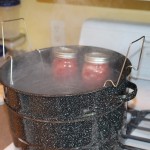
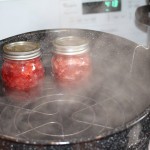
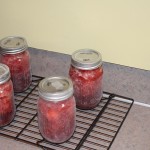
The final part of the process is to boil the jars of strawberry jam in the canning pot making sure they are completely submerged and the boil is a rapid rolling one. I boiled the pint jars for 15 minutes here in Michigan. Boiling time is different depending on the size of the jar and altitude so make sure to consult a resource such as this publication from Virginia Tech to determine the appropriate time. Once the appropriate time had elapsed I removed the jars and set to dry on drying racks.

Strawberry Jam Recipes
Here are the recipes I used for our strawberry jam. Both of the recipes have no added sugar and one is completely unsweetened. Both recipes have lemon juice added to raise the acidity a bit more and for taste (our family likes tart!) There are plenty of recipes out there using sugar if you like things a bit sweeter. Repeat process until strawberries are ready for winter!
Strawberry Jam Recipe 1
- 2 quarts strawberry
- 1 cup water
- 3 tablespoons low/no sugar pectin
- 1/2 cup honey
- Juice of 1/2 lemon
Yields around 2 pints
Strawberry Jam Recipe 2
- 2 quarts strawberry
- 1 cup water
- 3 tablespoon low/no sugar pectin
- Juice of 1/2 lemon
Yields around 2 pints
Comments are closed.